|
|
Add/Manage Images
|
 
|
|
|
Add/Manage Images
|
|
#The text in the yellow column is an example of how you should enter information.
 |
|---|
|
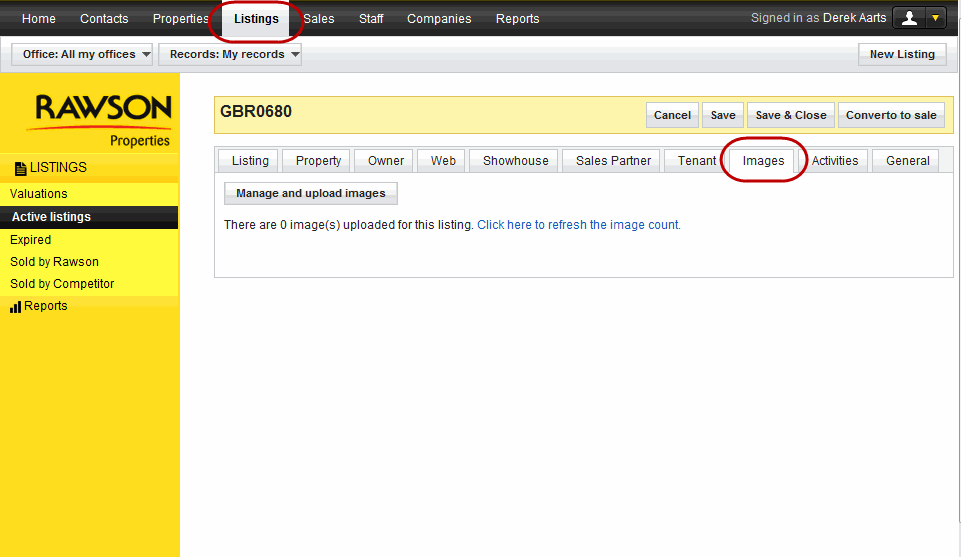
Photos can be added to listings for the purposes of keeping records or to be published on the web. The above screen shot shows how you will be able to navigate to the location. Select Listing, Open the listing that you would like to add photos to and navigate to the Image tab and you would have arrived at the above screen shot. |
| ||
|---|---|---|
|
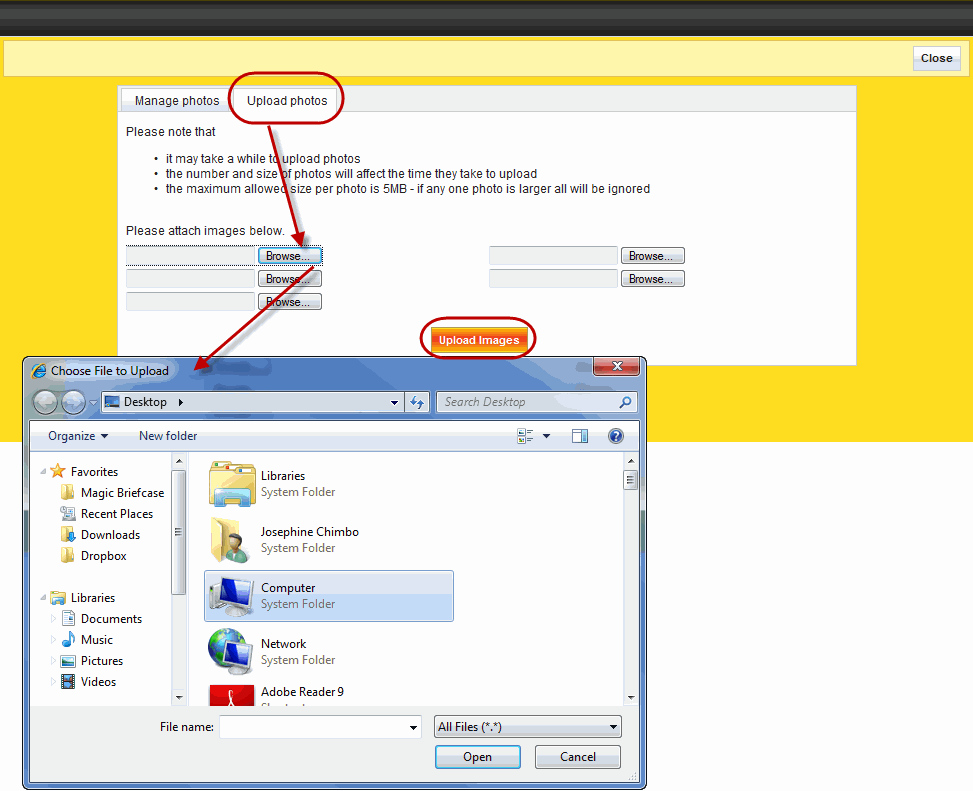
Browse |
Select the Browse button and pick the image(s) you would like to upload from where they are stored. Repeat the process for all the images that you would like to add. You are able to add between 1 and 5 images at a time to any listing. |
|
|
Upload images |
Click the Upload image button once you have selected all the image(s). Wait until the it finishes uploading then you will be able to add more images or close the window to return to your listing. |
|
| ||
|---|---|---|
|
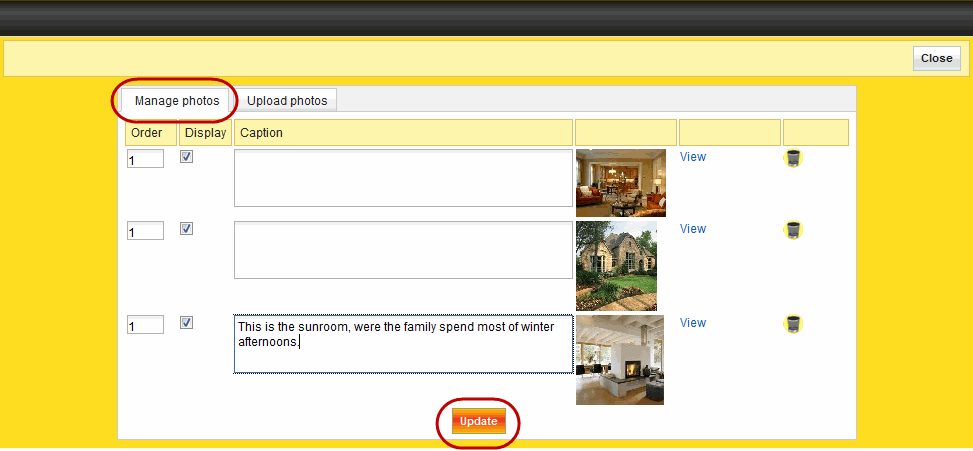
Order |
Select the order you would
like the listings images to be displayed on the website.
|
1, 2, 3 ... |
|
Display |
Select which images you would like to be displayed on the website or you would like the images hidden. |
. |
|
Caption |
You are able to add a caption to an image for instance a description . When the images appear on the website, the mouse over event will display the caption. |
Well manicured lawns and a backyard fountain. |
|
Update button |
Once you have finished managing the images, select the update button to put the changes into effect. |
. |
|
|---|
|
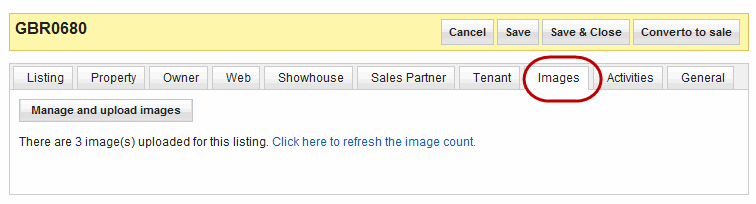
This is how the record will look after you have completed an upload. Click the link on the page "Click here to refresh the image count" and the images that you add will be counted. |